
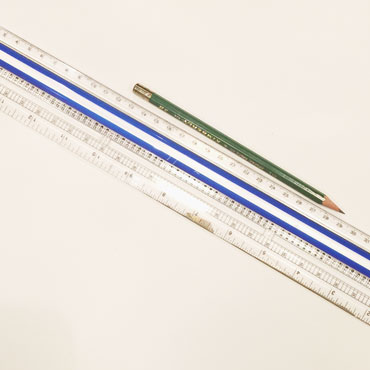
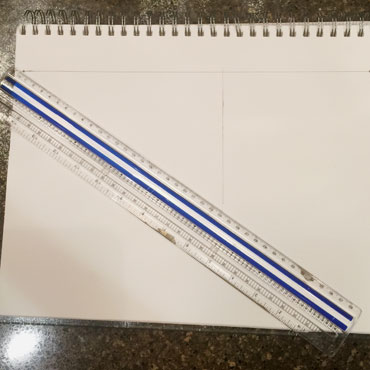
For this tutorial, you will need: your sketchbook, graphite drawing pencils, a ruler, blending stumps and an eraser pencil.
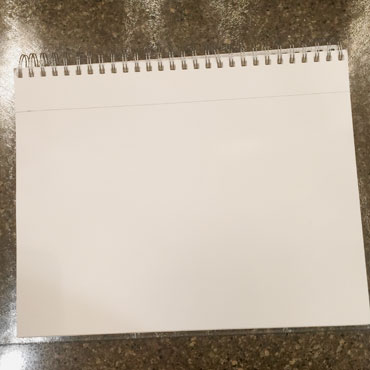
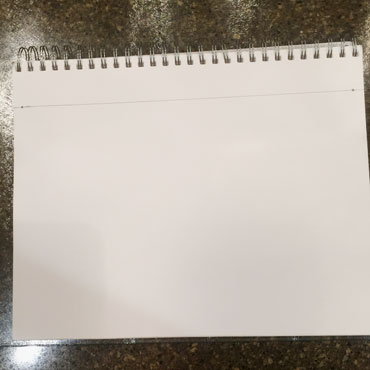
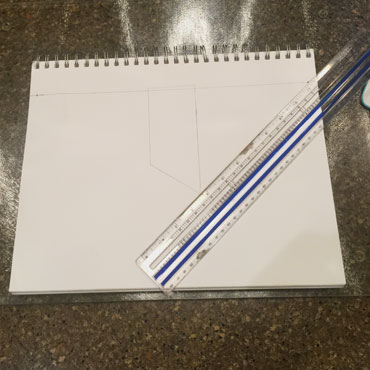
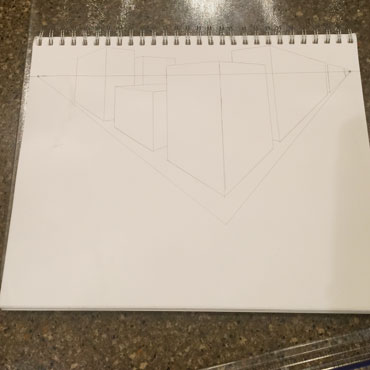
Step 1: Take your ruler and draw a straight line across the page. It should be about 2 to 2 1/2 inches in width. This will serve as the "horizon line". The horizon line is level to where your eyes naturally go when viewing the drawing. It is the point where everything starts to recede into the distant.
Step 2: Draw two dots at both ends of the horizon line. These will serve as the vanishing points. These are the points where the objects in the drawing will naturally start to disappear because of distance.
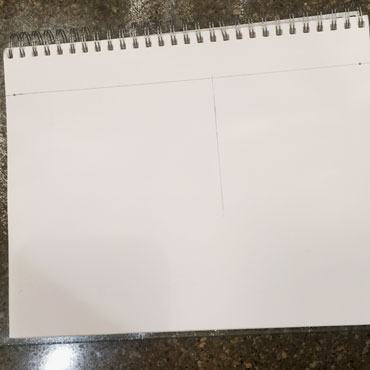
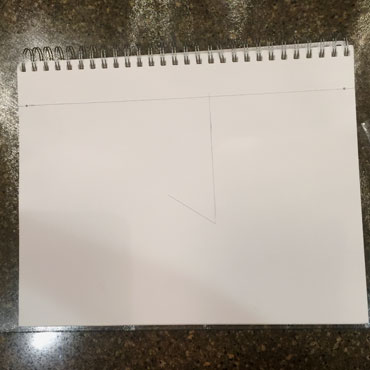
Step 3: Draw a straight, vertical line about two-thirds from the center of the page. Make sure the line crosses the horizon line about one inch.
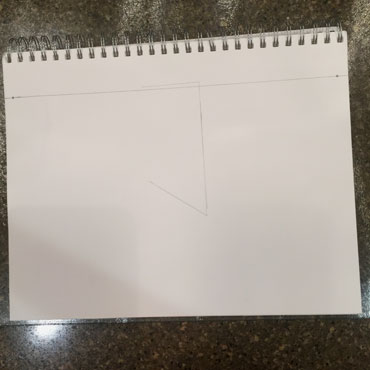
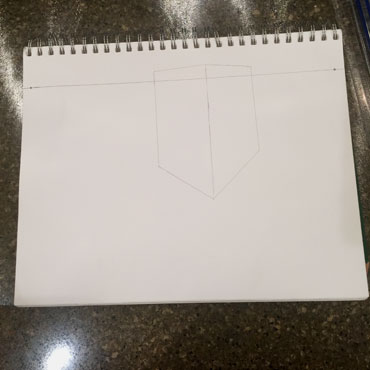
Step 4: Take your ruler and align the bottom of the vertical line and the left vanishing point.
Step 5: Following the ruler, draw a line about 3 inches in length. This will be the first edge of the building.
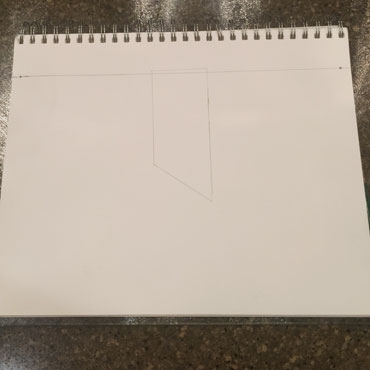
Step 6: Repeat step 5 for the top edge of the building.
Step 7: Connect the bottom and top edge of the building.
Step 8: Repeat steps 5 through 7 on the opposite side of the vertical line using the vanishing point on the right side.
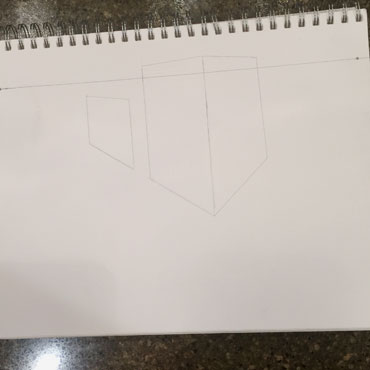
Step 9: Following steps 1 through 7, add another building on the left side of the first building.
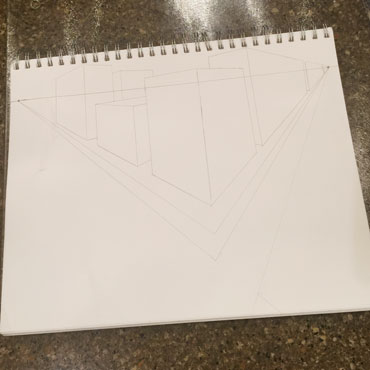
Step 10: Continue adding buildings to the landscape using both left and right vanishing points.
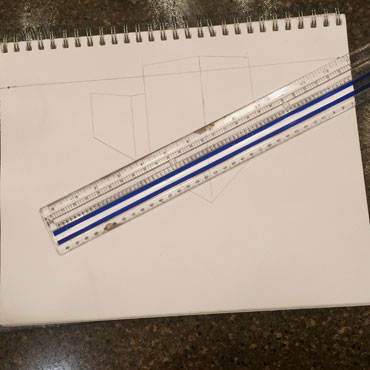
Step 11: Create a side walk by drawing two lines - one from the left vanish point and one from the right vanish point - and make them meet at the vertical edge of the first building you drew in steps 3 through 7. create another two lines surrounding the first two lines.
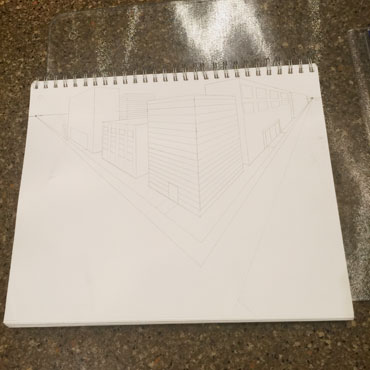
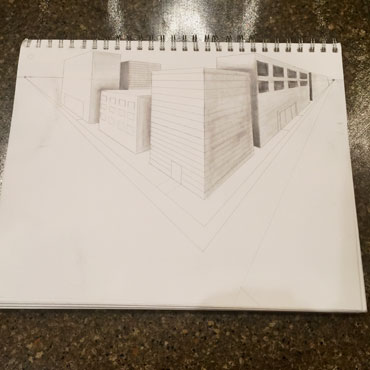
Step 12: Start adding details like windows and doors to the buildings. Use your ruler and the vanishing points to make sure the details align with the shape of the buildings
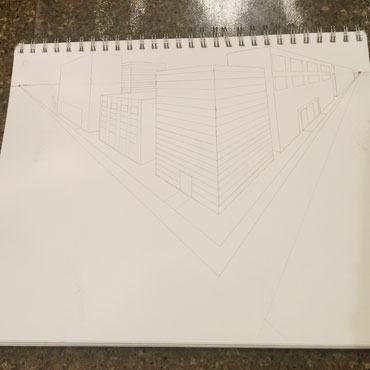
Step 13: Using the same technique as the 3D shading tutorial, start shading in the buildings in the appropriate spots.