
For this tutorial, you will need: your sketchbook, graphite drawing pencils, blending stumps and eraser pencil.
Step 1: Take out your 2H graphite pencil.
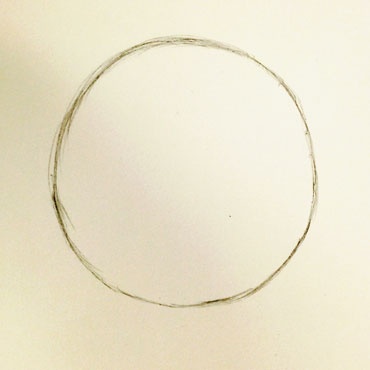
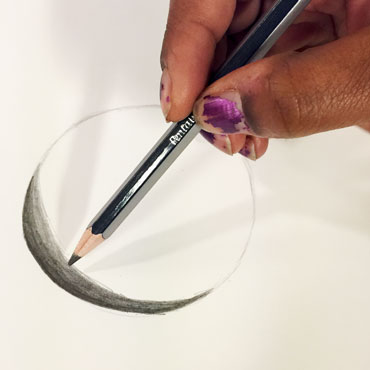
Step 2: Using your 2H graphite pencil, draw a circle on your paper. I free-hand my circles, but if you need help, feel free to use a guide, pencil compass, or protractor.
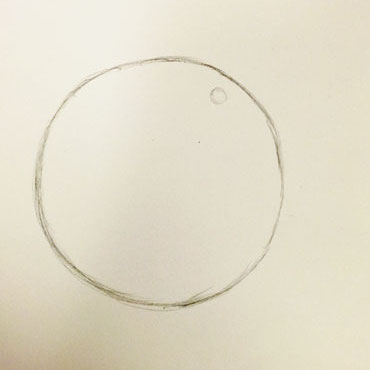
Step 3: Draw a smaller circle, around 1/4 of an inch, near the top right hand corner of the circle. This will serve as your source of light and all of the shading that you will do henceforth will be in that direction.
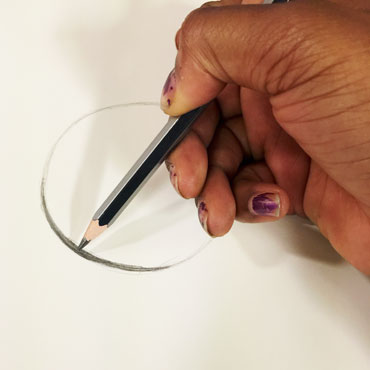
Step 4: Take your darkest graphite pencil - mine was the 8B graphite pencil - and start shading the the outer rim of the circle on the side opposite of the light source. Make sure to make the shading on this part heavy. This will be the darkest part of the object.
Step 5: Take the second-to-last darkest graphite pencil - mine was the 6B graphite pencil - and repeat the same action as the previous step. However, this time, make the shading a grade lighter.
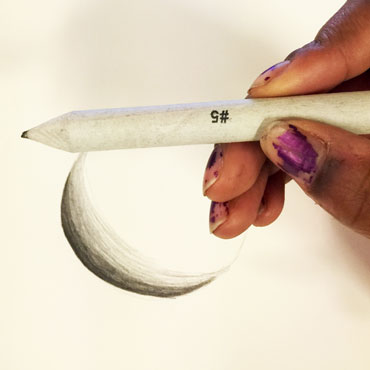
Step 6: Take out one of your blending stumps. Personally, I like to use the biggest one in the beginning when dealing with a larger object. For this step, I am using the #5 stump.
Step 7: Take the stump and start blending in the two different grades of graphite. Make sure to start from darkest to lightest and fan out toward the light source.
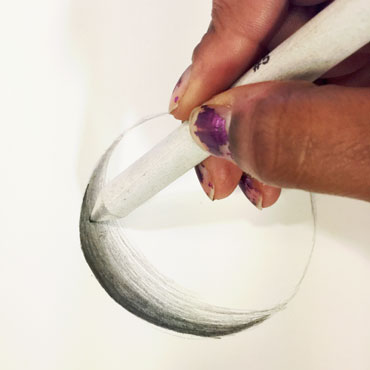
Step 8: There should be some graphite residue left on the blending stump. Start shading in the remainder of the circle, leaving the area around the light source untouched.
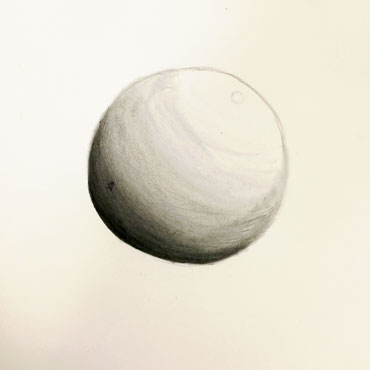
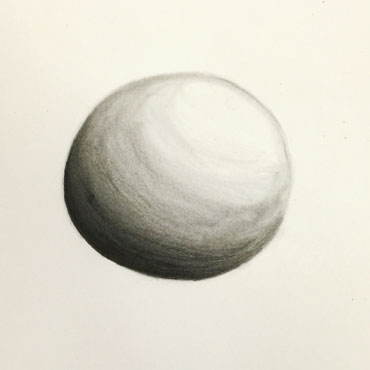

Step 9: Continue adding different intensities of graphite to the object and blending them together until it looks the way that you want it to.
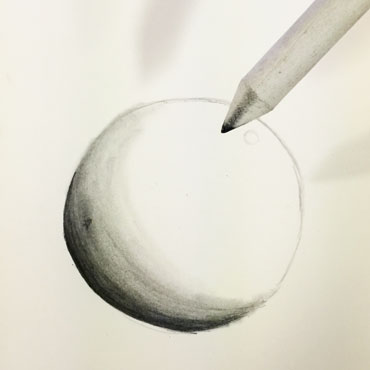
Step 10: If you make any mistakes or just want to clean up the edges of the object, remember to use your eraser pencil. The sharpness of its point makes it easier to clean up mistakes more precisely than a regular eraser.
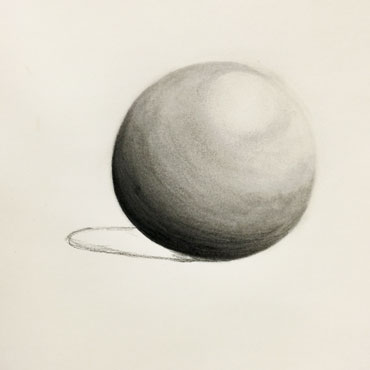

Step 11: For the object's shadow, draw an oblong semicircle in the opposite direction of the light source.
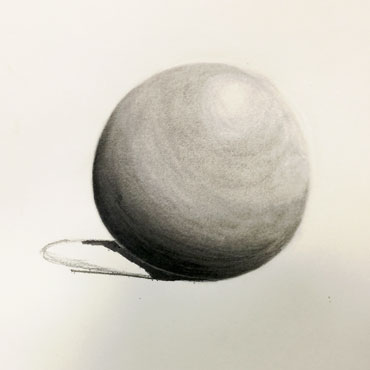
Step 12: Take your darkest graphite pencil, like the one used in step 4, and start filling in the first one-third of the shape.
Step 13: Just like the circle, start using different intensities of graphite and go from dark to light with the darkest intensity towards the circle and the lightest towards the end of the semicircle. Then blend the graphite using the blending stumps.